
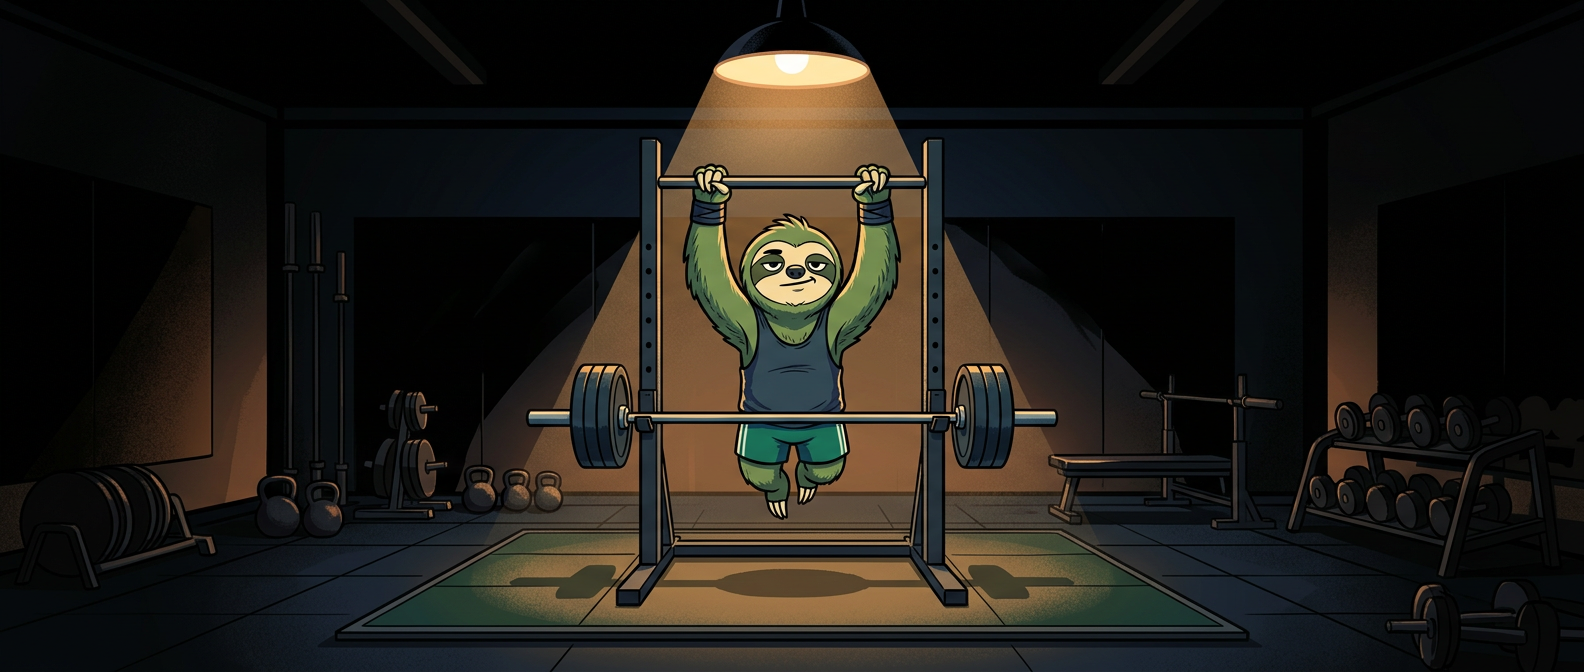
The Art of the Pull-Up: A Step-by-Step Progression Guide

    Ready to transform your training?

    Get a personalized AI workout plan in 30 seconds. Free trial, no credit card.

    The Art of the Pull-Up: A Step-by-Step Progression Guide

    Ah, the pull-up. The undisputed king of upper body exercises. For many, it’s that one elusive goal that feels just out of reach. In my years of coaching, I’ve seen more people get frustrated by the pull-up bar than by any other piece of equipment in the gym. But I'm here to tell you something - you can do a pull-up. And I'm going to show you how.

    Forget just jumping up and yanking with all your might. The pull-up is a skill, an art form even. And like any skill, it’s built through a smart, step-by-step progression. This is the exact pull up progression beginner guide I give my clients to take them from zero to hero.

    First, Nail Your Pull-Up Form

    Before we get into the fun stuff, we need to talk about form. A sloppy pull-up is not only less effective, it’s a recipe for shoulder injuries. As a trainer, my motto is - earn the right to progress. So let's build a solid foundation.

    This is your pull up form guide:

    • The Grip - grab the bar with your hands just outside shoulder-width, palms facing away from you. This is the classic pull-up grip. A full grip, with your thumb wrapped around the bar, is always safer.
    • The Start - begin from a dead hang. This means your arms are fully extended and your shoulders are relaxed, almost up by your ears. This is your starting and ending point for every single rep. No cheating with half-reps!
    • The Pull - initiate the movement by pulling your shoulder blades down and back. Think about trying to tuck them into your back pockets. This engages your lats-the big muscles in your back-instead of just relying on your arms.
    • The Finish - continue pulling until your chin clears the bar. Keep your core tight and try not to swing your legs excessively. Control the movement on the way back down to that full dead hang position.

    Your Step-by-Step Progression Plan

    Alright, you know what a good pull-up looks like. Now let's build the strength to do one. Work on each step until you feel confident before moving to the next.

    Step 1: Master the Dead Hang

    Don't underestimate this! Dead hangs build foundational grip strength and shoulder stability. Simply hang from the pull-up bar with your arms straight for as long as you can. Aim for 3 sets, holding for 20-30 seconds each. Once you can do that comfortably, you're ready to move on.

    Step 2: Activate with Scapular Pull-Ups

    This is the most important-and often skipped-step. What I tell my clients is that this small movement teaches you how to do a pull up correctly by firing up your back muscles first.

    From a dead hang, without bending your elbows, pull your shoulder blades down and back. Your body will lift an inch or two. Hold for a second, then relax back down. That's one rep. Aim for 3 sets of 8-10 reps.

    Step 3: Build Strength with Negative Pull-Ups

    Create Your Workout Plan by Voice - Free, No Signup

    Just tell our AI what you want - your goals, schedule, equipment - and get a personalized plan in seconds. No forms, no hassle. Just speak.

    This is where you'll see a huge jump in strength. The "negative" or eccentric part of the movement (the lowering phase) is where we can handle more load and build muscle fast.

    To do a negative, get your chin over the bar any way you can-jump up, or use a box or bench to step up. Once your chin is over the bar, begin to lower yourself down as slowly as possible. Fight gravity the whole way. Aim for a 3-5 second descent. Once you're at the bottom in a full dead hang, that's one rep. Start with 3 sets of 3-5 reps. These are tough!

    Step 4: Put It All Together with Assisted Pull-Ups

    Now you're ready for the full motion. The two best ways to do this are with resistance bands or an assisted pull-up machine.

    • Banded Pull-Ups - loop a heavy resistance band over the bar and place one foot or knee in it. The band will give you a boost from the bottom, which is the hardest part. As you get stronger, use lighter bands.
    • Assisted Machine - this machine uses a counterweight to help you. The more weight you add, the easier the pull-up is. Gradually reduce the assistance weight.

    You Did One! Now How to Increase Pull-Up Strength?

    Getting that first rep is an amazing feeling! But we don't want to stop there. To go from one to five, or five to ten, you need a plan.

    One of the best methods is to just do one pull-up, many times throughout the day or your workout. Rest a few minutes, do another one. This accumulates volume without fatigue.

    Another great way to increase pull up strength is to follow a structured plan. This is where tracking becomes critical. Using a tool like the FullBody AI app, you can log every set and rep. For example, your workout might be 5 sets to failure. The app remembers your last performance, so next time you can aim to beat it by just one more rep. This progressive overload is the key to getting stronger.

    Patience is Your Secret Weapon

    Listen, this process takes time. Some people will get their first pull-up in a few weeks; for others, it might take a few months. That’s perfectly okay. Don’t compare your journey to anyone else's.

    The art of the pull-up is about consistency and patience. Stick with this progression, focus on perfect form, and I promise you will get there. Now go get friendly with that pull-up bar! 😉

    Ready to transform your training?

    Get a personalized AI workout plan in 30 seconds. Free trial, no credit card.

    No card or signup required. Start in 30 seconds