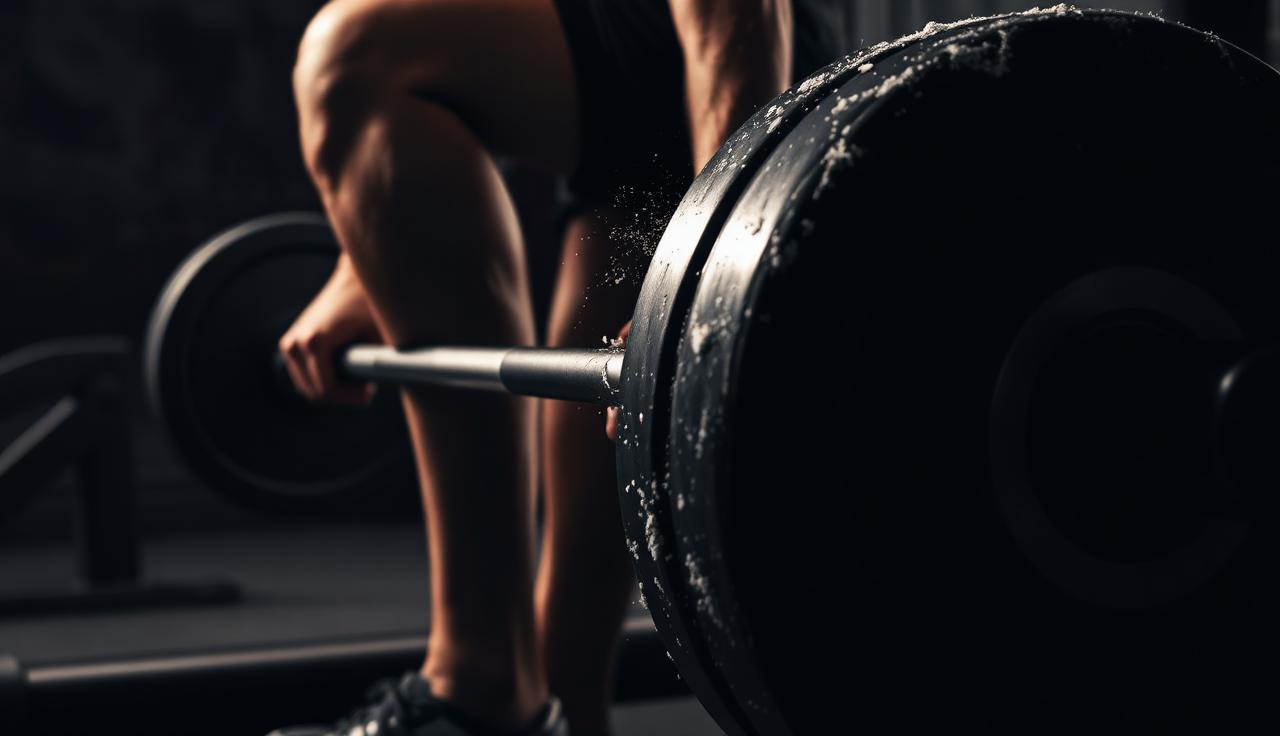
So, you wanna get strong? Really strong? Then the deadlift is probably already on your radar, or it should be! It's one of the best exercises out there for building overall strength, especially in your back, legs, and yes, your glutes. Seriously, if you want that peach emoji backside, mastering the deadlift is key.
But let's be real, it's also an exercise that can look intimidating, and if done wrong, can lead to some painful situations. No one wants that. My goal today is to walk you through deadlift form for beginners, highlighting how to deadlift correctly and steering you clear of those common deadlift mistakes.
Why the Deadlift is Your New Best Friend (When Done Right)
The deadlift is what we call a 'compound movement' – meaning it works multiple muscle groups at once. We're talking - your hamstrings, glutes, lower back, lats, traps, and forearms. It's truly a full-body workout in one lift.
Beyond just looking strong, a properly executed deadlift can:
- • Improve posture - strengthening your posterior chain (the muscles on the back of your body) helps counteract all that slouching we do.
- • Increase functional strength - ever picked up a heavy box? That's a real-world deadlift. This exercise makes everyday tasks easier.
- • Boost athleticism - stronger glutes and hamstrings mean more power for jumping, running, and basically any sport.
- • Build serious muscle - it's a fantastic stimulus for muscle growth throughout your body.
Setting Yourself Up for Success: The Initial Stance
Alright, first things first. Your starting position is crucial. Think of it as the foundation of a skyscraper – gotta be solid!
Foot Placement & Bar Position
- • Feet - stand with your feet about hip-width apart. Your shins should be relatively close to the bar – we're talking about an inch or two away, maybe even touching. You want the bar over the middle of your foot, not over your toes or way out in front of your shins.
- • Bar - ensure the bar is perfectly centered in front of you.
The Grip: Don't Let It Slip!
- • Hand Placement - your hands should be just outside your shins. If they're too wide, your arms will pull the bar out of its natural path and likely hurt your shoulders. Too narrow, and you might scrape your shins.
- • Grip Type - for beginners, a double overhand grip (both palms facing your body, gripping the bar) is usually best. As you get stronger, you might explore a mixed grip (one palm forward, one palm back) but start here. Really squeeze that bar! Pretend you're trying to crush it.
The Lift-Off: How to Deadlift Correctly & What to Feel
This is where most of the magic (and potential for mistakes) happens. Here's a step-by-step breakdown:
Engage Your Core & Set Your Back
Before you even think about lifting, take a deep breath into your belly (brace your core like you're about to get punched). Then, arch your lower back slightly, proud chest up. You want a neutral spine, not a rounded back or an excessive arch. This is super important to avoid injury.
Initiate the Movement: Hinge, Don't Squat!
This is a big one for deadlift form for beginners! The deadlift is not a squat. While there's knee bend, the primary movement is a hip hinge.
- • Hinge - push your hips back as if you're trying to touch the wall behind you with your butt. Let your torso come forward naturally. Your knees will bend, but not excessively. The goal is to get into a position where your shoulders are slightly ahead of the bar, your hips are lower than your shoulders, and your back is flat.
- • Lats Engaged - think about pulling your shoulder blades down and back, effectively 'locking in' your upper back. This helps keep the bar close to your body.
The Pull: Power Up!
Now, for the actual lift. Think about two things happening simultaneously:
- Push the floor away - drive through your heels and mid-foot, pushing the ground down. Don't just pull with your arms – they're just hooks.
- Stand tall - as you push the floor, bring your hips forward. Straighten your legs and torso together. The bar should travel in a straight, vertical line up your shins and thighs.
The Lockout: Finish Strong!
Once the bar passes your knees, continue driving your hips forward until you're standing tall. Squeeze your glutes hard at the top! Don't hyperextend your back – just stand up straight. Your shoulders should be back, core tight.
Descending Gracefully: The Way Down
Putting the bar down is just as important as picking it up. Don't just drop it haphazardly.
- Hinge first - push your hips back first, reversing the motion from the pull. Let the bar travel down your thighs.
- Bend knees - once the bar passes your knees, then allow your knees to bend more to guide the bar to the floor in a controlled manner.
Common Deadlift Mistakes & How to Fix 'Em
Even with the best intentions, it's easy to fall into bad habits. Here are some of the most common deadlift mistakes and quick fixes:
1. Rounded Back (The Big No-No)
- • Mistake - your lower back rounds like a Halloween cat. This puts tremendous stress on your spinal discs.
- • Fix - focus on a neutral spine from the start. Take a big breath, brace your core, and 'set' your back by slightly arching it. Think about keeping your chest up and proud. Lower the weight if needed to practice this.
2. Squatting Too Much (The Not-Quite-a-Deadlift)
- • Mistake - your hips drop too low, and your knees shoot forward, making it look more like a squat.
- • Fix - remember that hip hinge! Push your butt back first. Imagine trying to close a car door with your butt. Your knees should bend as a consequence of the hip hinge, not as the primary movement.
3. Bar Drifting Away From the Body
- • Mistake - the bar moves away from your shins and thighs as you lift. This increases the leverage arm and makes the lift much harder (and riskier for your back).
- • Fix - keep the bar as close to your body as possible throughout the movement. Shave those shins, literally! Engage your lats by imagining you're trying to put your shoulder blades in your back pockets.
4. Hyperextending at the Top
- • Mistake - arching your back excessively at the top of the lift.
- • Fix - stand up tall, squeeze your glutes, but don't lean back. A straight line from your head to your heels is the goal.
5. Jerking the Weight Off the Floor
- • Mistake - exploding off the floor with no tension, often accompanied by a yanking motion.
- • Fix: Build tension before you lift. Get into position, take a big breath, brace, and then slowly and deliberately start to apply force to the bar. The bar shouldn't move until you've established full tension throughout your body.
Deadlift for Glutes! Activating Those Booty Muscles
Alright, for those looking specifically to target the deadlift for glutes, here are some tips:
- • Focus on the Hinge - really exaggerate pushing your hips back. This pre-stretches the glutes and hamstrings.
- • Squeeze at the Top - this is crucial. At the very top of your lift, drive your hips fully forward and give those glutes a mighty squeeze. Don't just stand up – finish the movement with your glutes.
- • Push Through Your Heels - while you want to drive through your entire foot, consciously thinking about pushing through your heels can help engage the posterior chain more effectively.
- • Consider Romanian Deadlifts (RDLs): Once you've got the conventional deadlift down, RDLs are fantastic for isolating the glutes and hamstrings even more. Fewer knee bend, more hip hinge.
Practice Makes Perfect (and FullBody AI Helps!)
Learning the deadlift takes practice. If you're struggling, don't be afraid to deload the bar, or even just use a PVC pipe, to drill the movement pattern. It really helps ingrain that muscle memory.
And hey, this is where a smart workout planning app like FullBody AI can be a game-changer. Our AI-powered trainer can guide you through exercises with clear instructions, analyze your form (through video analysis, in some cases!), and even suggest adjustments to help you master lifts like the deadlift. It's like having a personal coach in your pocket, making sure you're lifting safely and effectively, and helping you achieve those strength and deadlift for glutes goals!
So, take your time, focus on your form, and get ready to unlock some serious strength. You got this!