
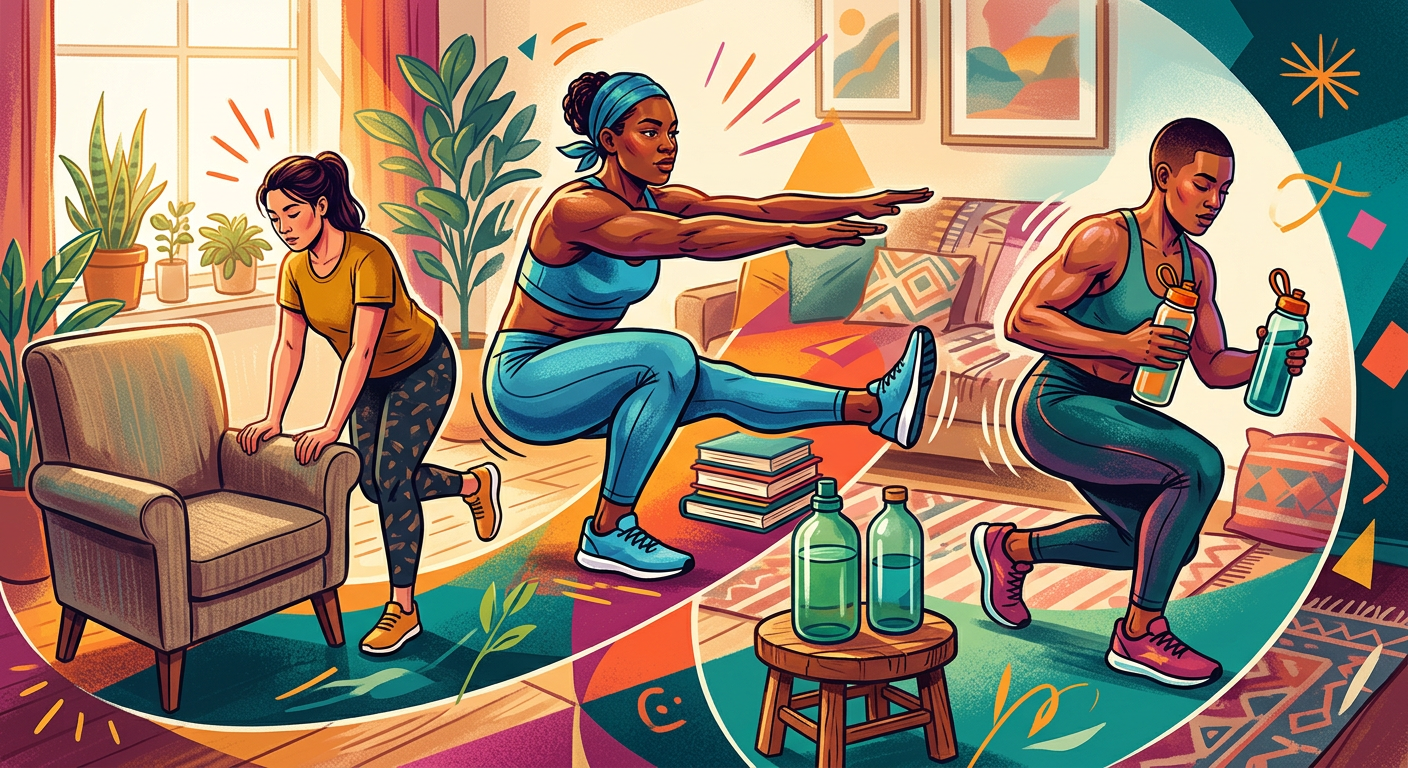
Mastering the Pistol Squat at Home: A Step-by-Step Guide

    Ready to transform your training?

    Get a personalized AI workout plan in 30 seconds. Free trial, no credit card.

    Mastering the Pistol Squat at Home: A Step-by-Step Guide

    Ah, the pistol squat. That one-legged beast of an exercise that looks like something out of a superhero movie. For years, I saw people do them at the gym or in parks and thought, "Nope, not for me." It just seemed like an impossible combination of strength, balance, and flexibility.

    My first few attempts? Let's just say they were less "squat" and more "controlled fall." I'd get about halfway down, wobble like a baby deer, and then my butt would hit the floor. Sound familiar? If so, you're in the right place. I'm here to tell you that you absolutely can master the pistol squat at home, and you don't need a bunch of fancy equipment to do it. All you need is a little patience and a solid plan.

    I'm going to share the exact pistol squat progression bodyweight routine that took me from falling over to repping out clean pistol squats. It's a journey, for sure, but a really rewarding one.

    First, Why is This Move So Dang Hard?

    Before we dive into the steps, it helps to know what we're up against. The pistol squat isn't just a test of raw strength. It’s a three-headed monster that requires:

    • •Single-Leg Strength - this is the obvious one. You have to be strong enough to lower and lift your entire bodyweight on one leg.
    • •Balance and Stability - your foot, ankle, knee, and hip are all working overtime to keep you from toppling over. It recruits a ton of tiny stabilizer muscles you probably didn't know you had.
    • •Mobility - this is the secret villain for most people. You need serious ankle flexibility (specifically dorsiflexion, or bending your foot towards your shin) and hip mobility to get deep into the squat without your heel lifting or your body falling backward.

    For me, the mobility was the biggest hurdle. Once I started working on that alongside the strength, things finally started to click.

    The Step-by-Step Guide to Your First Pistol Squat

    Alright, let's get into the good stuff. Here is the progression. The key is to be honest with yourself and own each step before moving to the next. Aim for 5-8 solid, controlled reps on each leg before you level up.

    Step 1: Assisted Squats

    This is where you learn the movement pattern without the intense balance challenge. Find a sturdy door frame, a pole, or a suspension trainer if you have one. The goal here is to learn how to do a pistol squat at home with support.

    • •Stand on one leg, holding onto your support with one or two hands.
    • •Slowly lower yourself down, keeping your other leg straight out in front of you.
    • •Go as low as you can, trying to get your hamstring to your calf.
    • •Use your arms as little as possible to help you stand back up.

    Focus on control and getting that full range of motion. This builds the foundational strength and muscle memory.

    Step 2: Negative Pistols to a Box or Chair

    Negatives are your best friend for building strength. We're going to focus only on the "down" portion of the squat. Grab a chair, a stool, or a stack of books.

    Create Your Workout Plan by Voice - Free, No Signup

    Just tell our AI what you want - your goals, schedule, equipment - and get a personalized plan in seconds. No forms, no hassle. Just speak.

    • •Stand on one leg in front of your "box."
    • •As slowly as you can (I'm talking 3-5 seconds), lower yourself until you're sitting on the box.
    • •Once seated, put both feet on the floor and stand up normally.
    • •As you get stronger, use a lower box to increase the challenge.

    This builds incredible control and strength in the exact range of motion you need.

    Step 3: Rolling Pistol Squat

    This one looks a little weird, but I've found that it's a huge help for conquering the toughest part of the pistol - getting out of the bottom. It uses momentum to give you a little boost.

    • •Start by squatting down on one leg.
    • •As you reach the bottom, let yourself roll backward onto your back, like a turtle.
    • •Use that momentum to roll forward, driving your foot into the ground to power yourself back up to a standing position.

    It takes some practice, but it's a fantastic drill for understanding the mechanics of standing up from the deep squat position.

    Step 4: Counterweight Pistol Squat

    We're so close! This is the final bridge to a true one leg squat at home. Grab a light weight - a 5lb dumbbell, a full water bottle, even a heavy book will do.

    • •Hold the weight out in front of you with both hands.
    • •Perform your pistol squat. You'll be amazed at how much easier it is to balance!

    The counterweight shifts your center of gravity forward, making it much easier to stay upright. As you get proficient, you can use a lighter and lighter weight until you don't need one at all.

    Putting It All Together

    Don't rush the process. When I was deep in this progression, I used the FullBody AI app to track my small wins. I'd log things like "Negative pistols to 15-inch stack of books, 5 reps each leg." Seeing that progress written down was a huge motivator, especially on days when I felt stuck. It’s hard to see day-to-day improvement, but looking back over a few weeks of consistent work makes all the difference.

    Stick with one progression until you can do it well, then move to the next. It might take weeks, or it might take months. And that's perfectly okay. This is an advanced skill! Stay consistent, and I promise you'll get there. Soon you'll be the one busting out a perfect pistol squat, and someone else will be looking at you thinking, "No way."

    Ready to transform your training?

    Get a personalized AI workout plan in 30 seconds. Free trial, no credit card.

    No card or signup required. Start in 30 seconds