
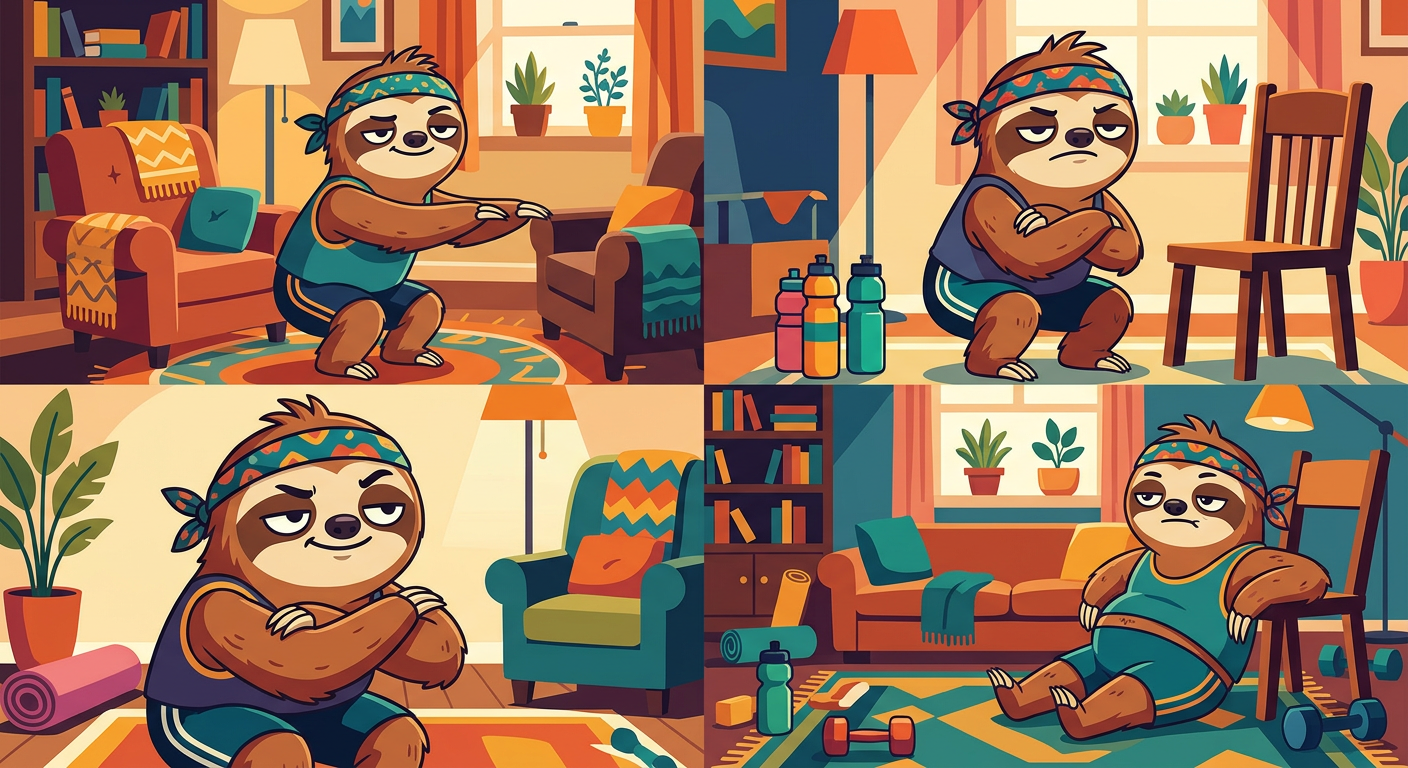
Let's be honest, the squat is the king of exercises. And the best part? You don't need a heavy barbell to reap its rewards. The simple bodyweight squat is one of the most effective, functional movements you can do. It's the foundation of any great beginner bodyweight leg workout and the key to building strength, improving mobility, and burning calories right in your living room.
But there’s a catch - you have to do it right. Nailing the correct bodyweight squat form isn't just about looking good-it's about getting results and, more importantly, preventing injury. So, let's break it down, step by step, so you can squat at home with no equipment and total confidence.
Why the Bodyweight Squat Rocks
Before we get into the nitty-gritty, why should you even care about this one exercise? Simple.
- •It works multiple muscle groups at once - quads, hamstrings, glutes, and your core.
- •It builds functional strength that you use every single day (like picking stuff up or getting out of a chair).
- •It improves hip mobility, which is a lifesaver for anyone who sits at a desk all day.
- •It costs nothing and requires zero equipment.
Your Step-by-Step Guide to the Perfect Squat
Forget complicated instructions. Think of this as a simple conversation between you and your body. Ready? Let's go.
Step 1: The Setup
Your starting position dictates the entire movement. Don't rush it.
- •Stance - stand with your feet somewhere between shoulder-width and hip-width apart. There's no one-size-fits-all here, so find what feels stable and comfortable for your hips.
- •Feet - point your toes slightly outward, maybe 5 to 15 degrees. Imagine the face of a clock-your feet might point to 11 and 1.
- •Posture - stand up tall. Pull your shoulders back and down, keep your chest up, and engage your core. Imagine someone is about to poke you in the stomach-that's the kind of tightness you want.
Step 2: The Descent
This is where most folks go wrong. The key is to initiate the movement with your hips, not your knees.
- •Hips Back - start by pushing your hips backward as if you're about to sit down in a chair that's just a little too far behind you.
- •Knees Bend - as your hips go back, your knees will naturally start to bend. Let them.
- •Track Your Knees - keep your knees in line with your feet. Don't let them collapse inward! A good cue is to think about actively pushing your knees out.
- •Keep Your Chest Up - fight the urge to let your chest fall forward and round your back.
Step 3: The Bottom
How low should you go? The goal is to get your thighs at least parallel to the floor, or even slightly below if your mobility allows and you can maintain a flat back. This is where you get the best glute activation.
Go as low as you can while maintaining correct squat technique. If your heels start to lift or your lower back starts to round, you've gone a bit too far for now. Stop just before that point.